Ever wondered how makeup can transform a person into a completely different character? Imagine transforming an actor into a battle-worn warrior or survivor of a zombie apocalypse with just a few strokes of makeup. Cool, no? Many characters have gained popularity because of their fairly terrifying look. Whether it’s Voldemort from Harry Potter, Jack Napier (a.k.a. the Joker), or Michael Keaton in Beetlejuice, one thing remains common – the bone-chilling appearance.
Authenticity is the cornerstone of SFX makeup and the ability to create realistic scars can truly bring a character to life on screen or stage. These scars not only add depth to a character’s backstory, but also evoke genuine emotion, enriching the audience’s viewing experience. Let’s learn how to create real-life-looking scars.
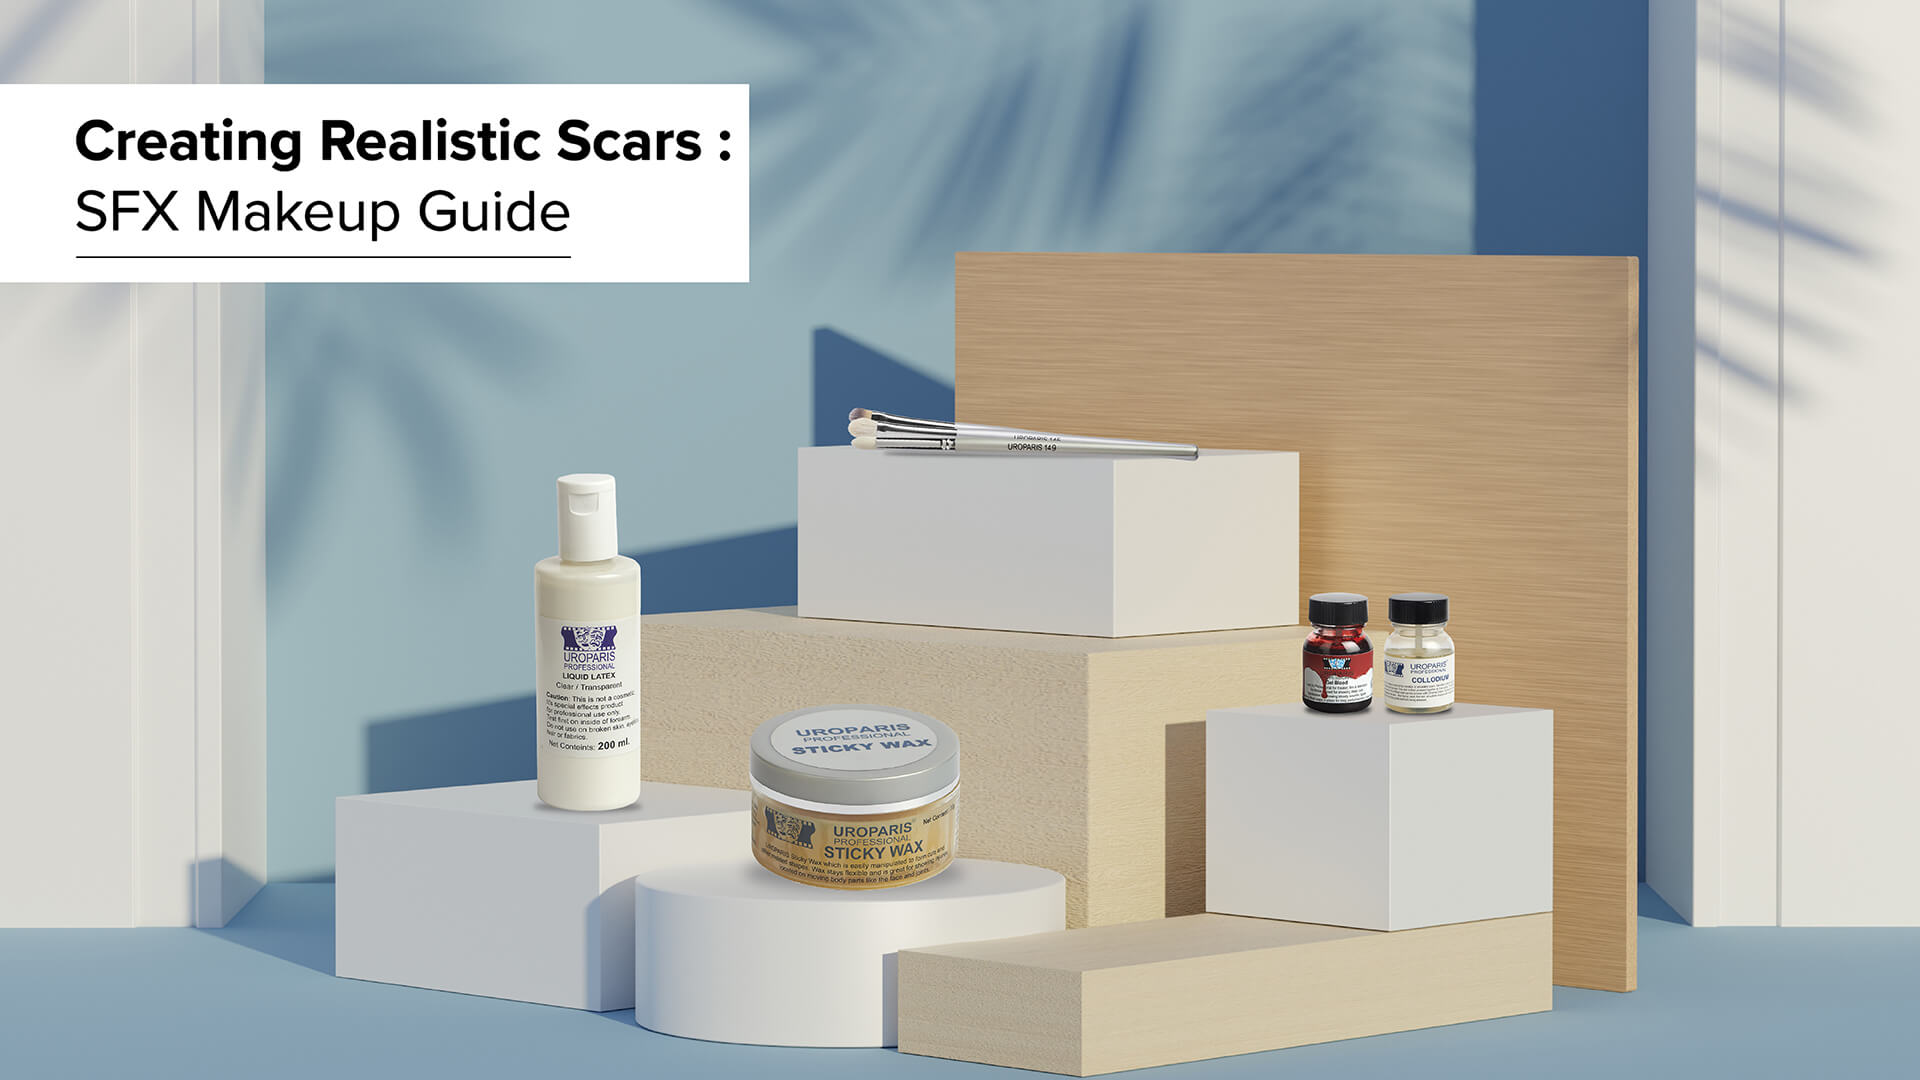
Gather Your Supplies:
Simple scar imitation requires little preparation and can be achieved quickly. All you need is some liquid collodion and coloured makeup. To create deep and convincing scars, you’ll need essential materials like scar wax, liquid latex, and fake blood. Find everything you need to create realistic scars at our online store. Shop now!
Additionally, sculpting tools and makeup brushes are necessary for seamlessly shaping and blending the makeup into the skin. These tools and products will give your scar lifelike texture and depth, ensuring realistic results.
Clean Your Face and Check for Allergies:
When your face is clean, SFX makeup adheres better to your skin, creating a better seal between your skin and the adhesive. Start by cleansing the skin to remove any dirt or oil, followed by moisturising, to ensure a smooth canvas. Do a patch test of the ingredients used in your scar-making products to prevent an allergic reaction.
Application Technique:
STEP 1: Begin by moulding Uroparis Sticky Wax onto the skin to form the desired scar shape. Use your fingers or a sculpting tool to shape the wax according to the desired size and depth of the scar.
STEP 2: Next, blend the edges of the scar wax seamlessly into the surrounding skin using makeup tools like a spatula or a beauty blender. This helps create a natural transition between the scar and the skin, avoiding harsh lines.
STEP 3: Apply our unique liquid latex over the scar wax to add textured effects like aged skin, peeling skin, and depth to the scar. Using a brush or sponge to layer the latex onto the wax creates 3D effects like wounds. You can mix it with cotton or apply it directly. Allow the latex to dry completely before proceeding to the next step.
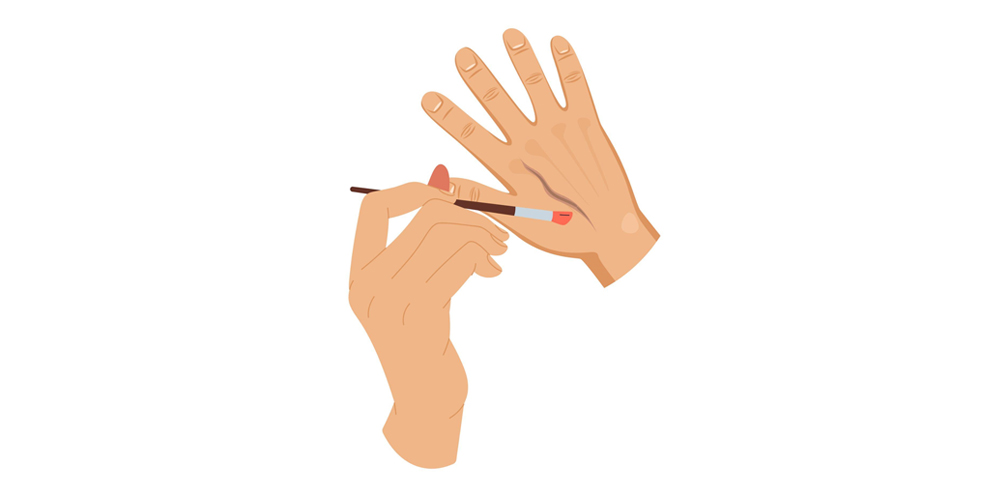
STEP 4: Once it’s dry, use cream or alcohol-activated makeup pigments to add colour and dimension to the scar. Choose colours that mimic the appearance of healed or fresh wounds, such as reds, purples, and browns. Apply the makeup using a small brush like Uroparis 125, 145, and 149, to blend it into the scar to create a realistic effect.
STEP 5: Add Uroparis Gel Blood to the scar for an extra touch of authenticity. Apply the blood sparingly using a dropper or brush, focusing on areas where blood would naturally pool or drip. This step will enhance the overall look of the scar, making it appear more realistic.

Another Easy Way:
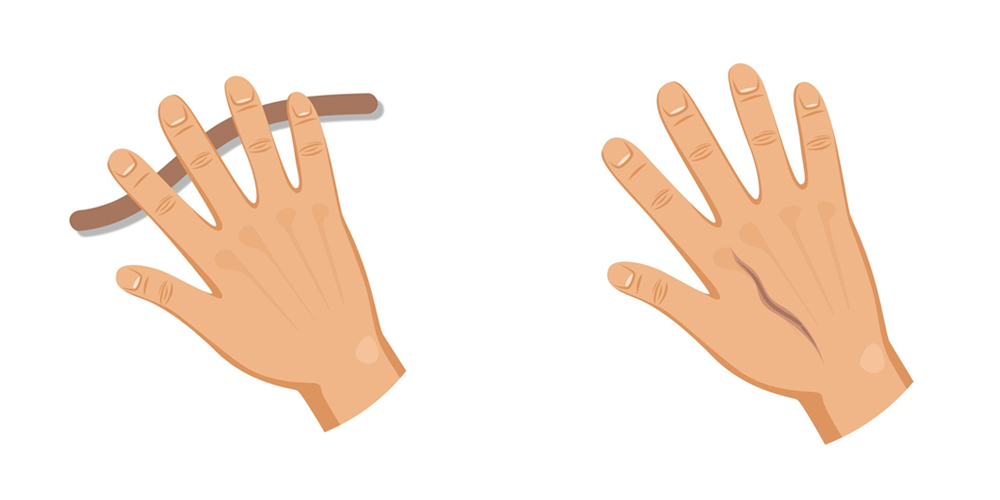
STEP 1: After cleaning the soon-to-be scarred area, outline your scar pattern (harsh marks, jagged lines, or X-shaped) using an eyebrow pencil to faintly sketch the pattern beforehand.
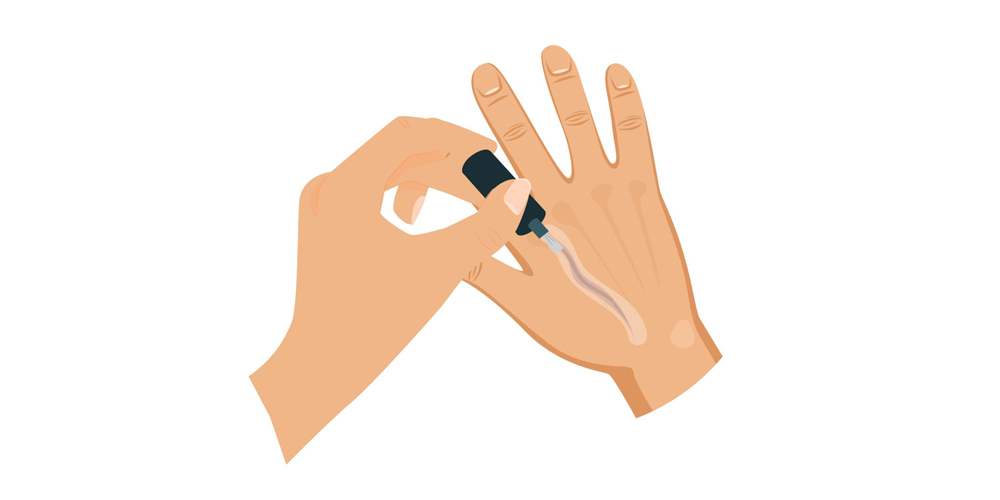
STEP 2: Apply the Uroparis Collodion in layers. As it dries, it will draw your skin together and create a scar. For a more pronounced effect, let it dry and work in layers.
STEP 3: Depending on your skin tone, colour your scar with different pigments for depth and a natural look. You can apply makeup over the top or underneath your collodion scar.
Blending and Finishing Touches:
Blending SFX makeup seamlessly into the surrounding skin is non-negotiable. Ensure your scar integrates naturally with the surrounding skin, avoiding visible lines or inconsistencies. To enhance the scar’s realism, blend the edges softly and consider adding subtle makeup effects like shading or highlighting to add depth and dimension.
Maintenance and Removal:
At day’s end, safely remove SFX makeup with a makeup remover and gently cleanse makeup from your prosthetic scar. When your scar begins to feel loose, you can peel it from your face and clean any residue left with either warm water and mild soap or a baby wipe. This preserves both skin health and the longevity of the makeup effects.
To maintain SFX scars, it’s advised to avoid excessive touching or sweating, which can smudge or degrade the makeup.
For more such tips and tricks follow us on Instagram and check our blogs.